如何在ubuntu搭建speedtest网速测试服务器
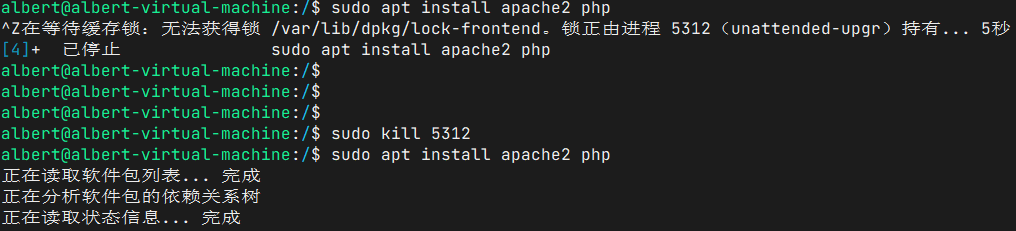
一、安装apache2 php服务
1 | sudo apt install apache2 php |
pCizm11.png
二、下载源代码
1 | git clone https://github.com/仓库名 |
三、复制主页文件到apache2 /var/www/html
1 | cd speedtest |

pCizGhd.png
1 | cd /var/www/html |
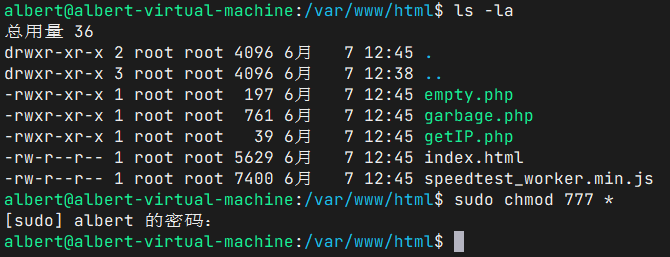
pCizNct.png
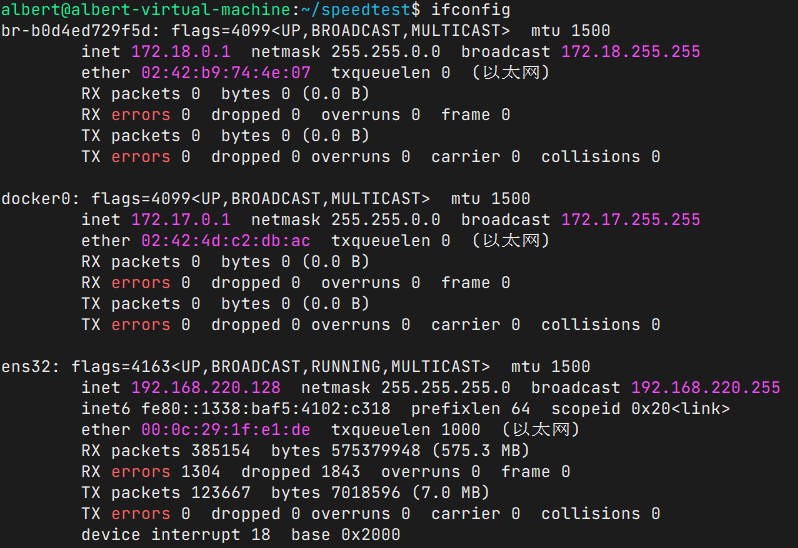
五、查看本地ip
在ubuntu命令行中输入ifconfig查看本机ip
1 | ifconfig |
pCizt1I.png
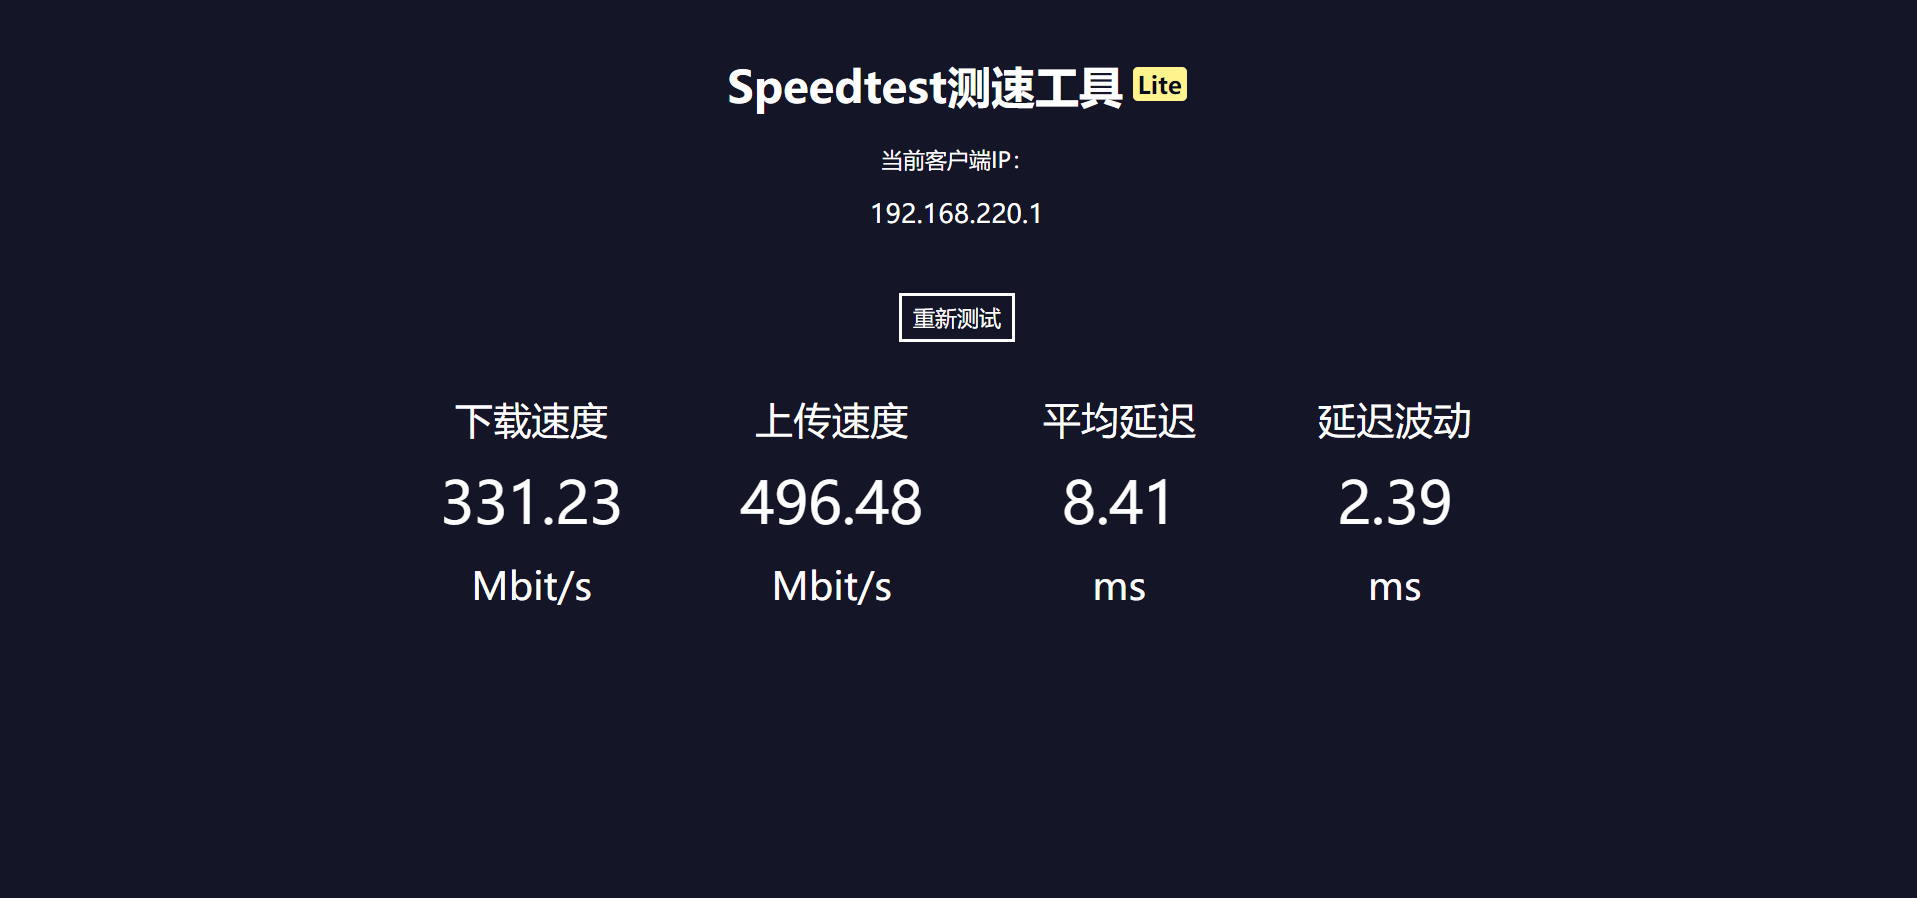
六、启动服务
1 | sudo /etc/init.d/apache2 start |
在浏览器中打开输入本机ip就可以打开测试页面
pCizY9A.png