manim 的基础操作 当我们完成了manim的安装后,我们使用 manimgl example_scenes.py 命令来查看manim的安装,当执行此命令后,系统会提示需要选择哪个场景来运行,毕竟manim是使用场景来区分每个代码类,当我们选择其对应的场景后,若manim安装完全正确,此时屏幕上会弹出一个运行窗口,实时渲染代码生成的视频,当然你也可以从cmd窗口中看到当前执行的场景特效,具体执行代码如下:
1
2
3
4
5
6
7
8
9
10
11
12
13
14
15
16
17
manimgl example_scenes.py Warning: Using the default configuration file, which you can modify in e:\学习\python\python_manim\lib\site-packages\manimlib\default_config.yml If you want to create a local configuration file, you can create a file named custom_config.yml, or run manimgl --config 01: AnimatingMethods 02: ControlsExample 03: CoordinateSystemExample 04: GraphExample 05: InteractiveDevelopment 06: OpeningManimExample 07: SurfaceExample 08: TexTransformExample 09: TextExample 10: UpdatersExample That module has multiple scenes, which ones would you like to render? Scene Name or Number: 06 Animation 6: FadeOutNumberPlane, etc.: 0%| | 0/45 [00:00<?, ?it/s] Warning: The value of the pressed key is too large. Animation 6: FadeOutNumberPlane, etc.: 69%|#############################6 | 31/45 [00:01<00:00, 22.30it/s]
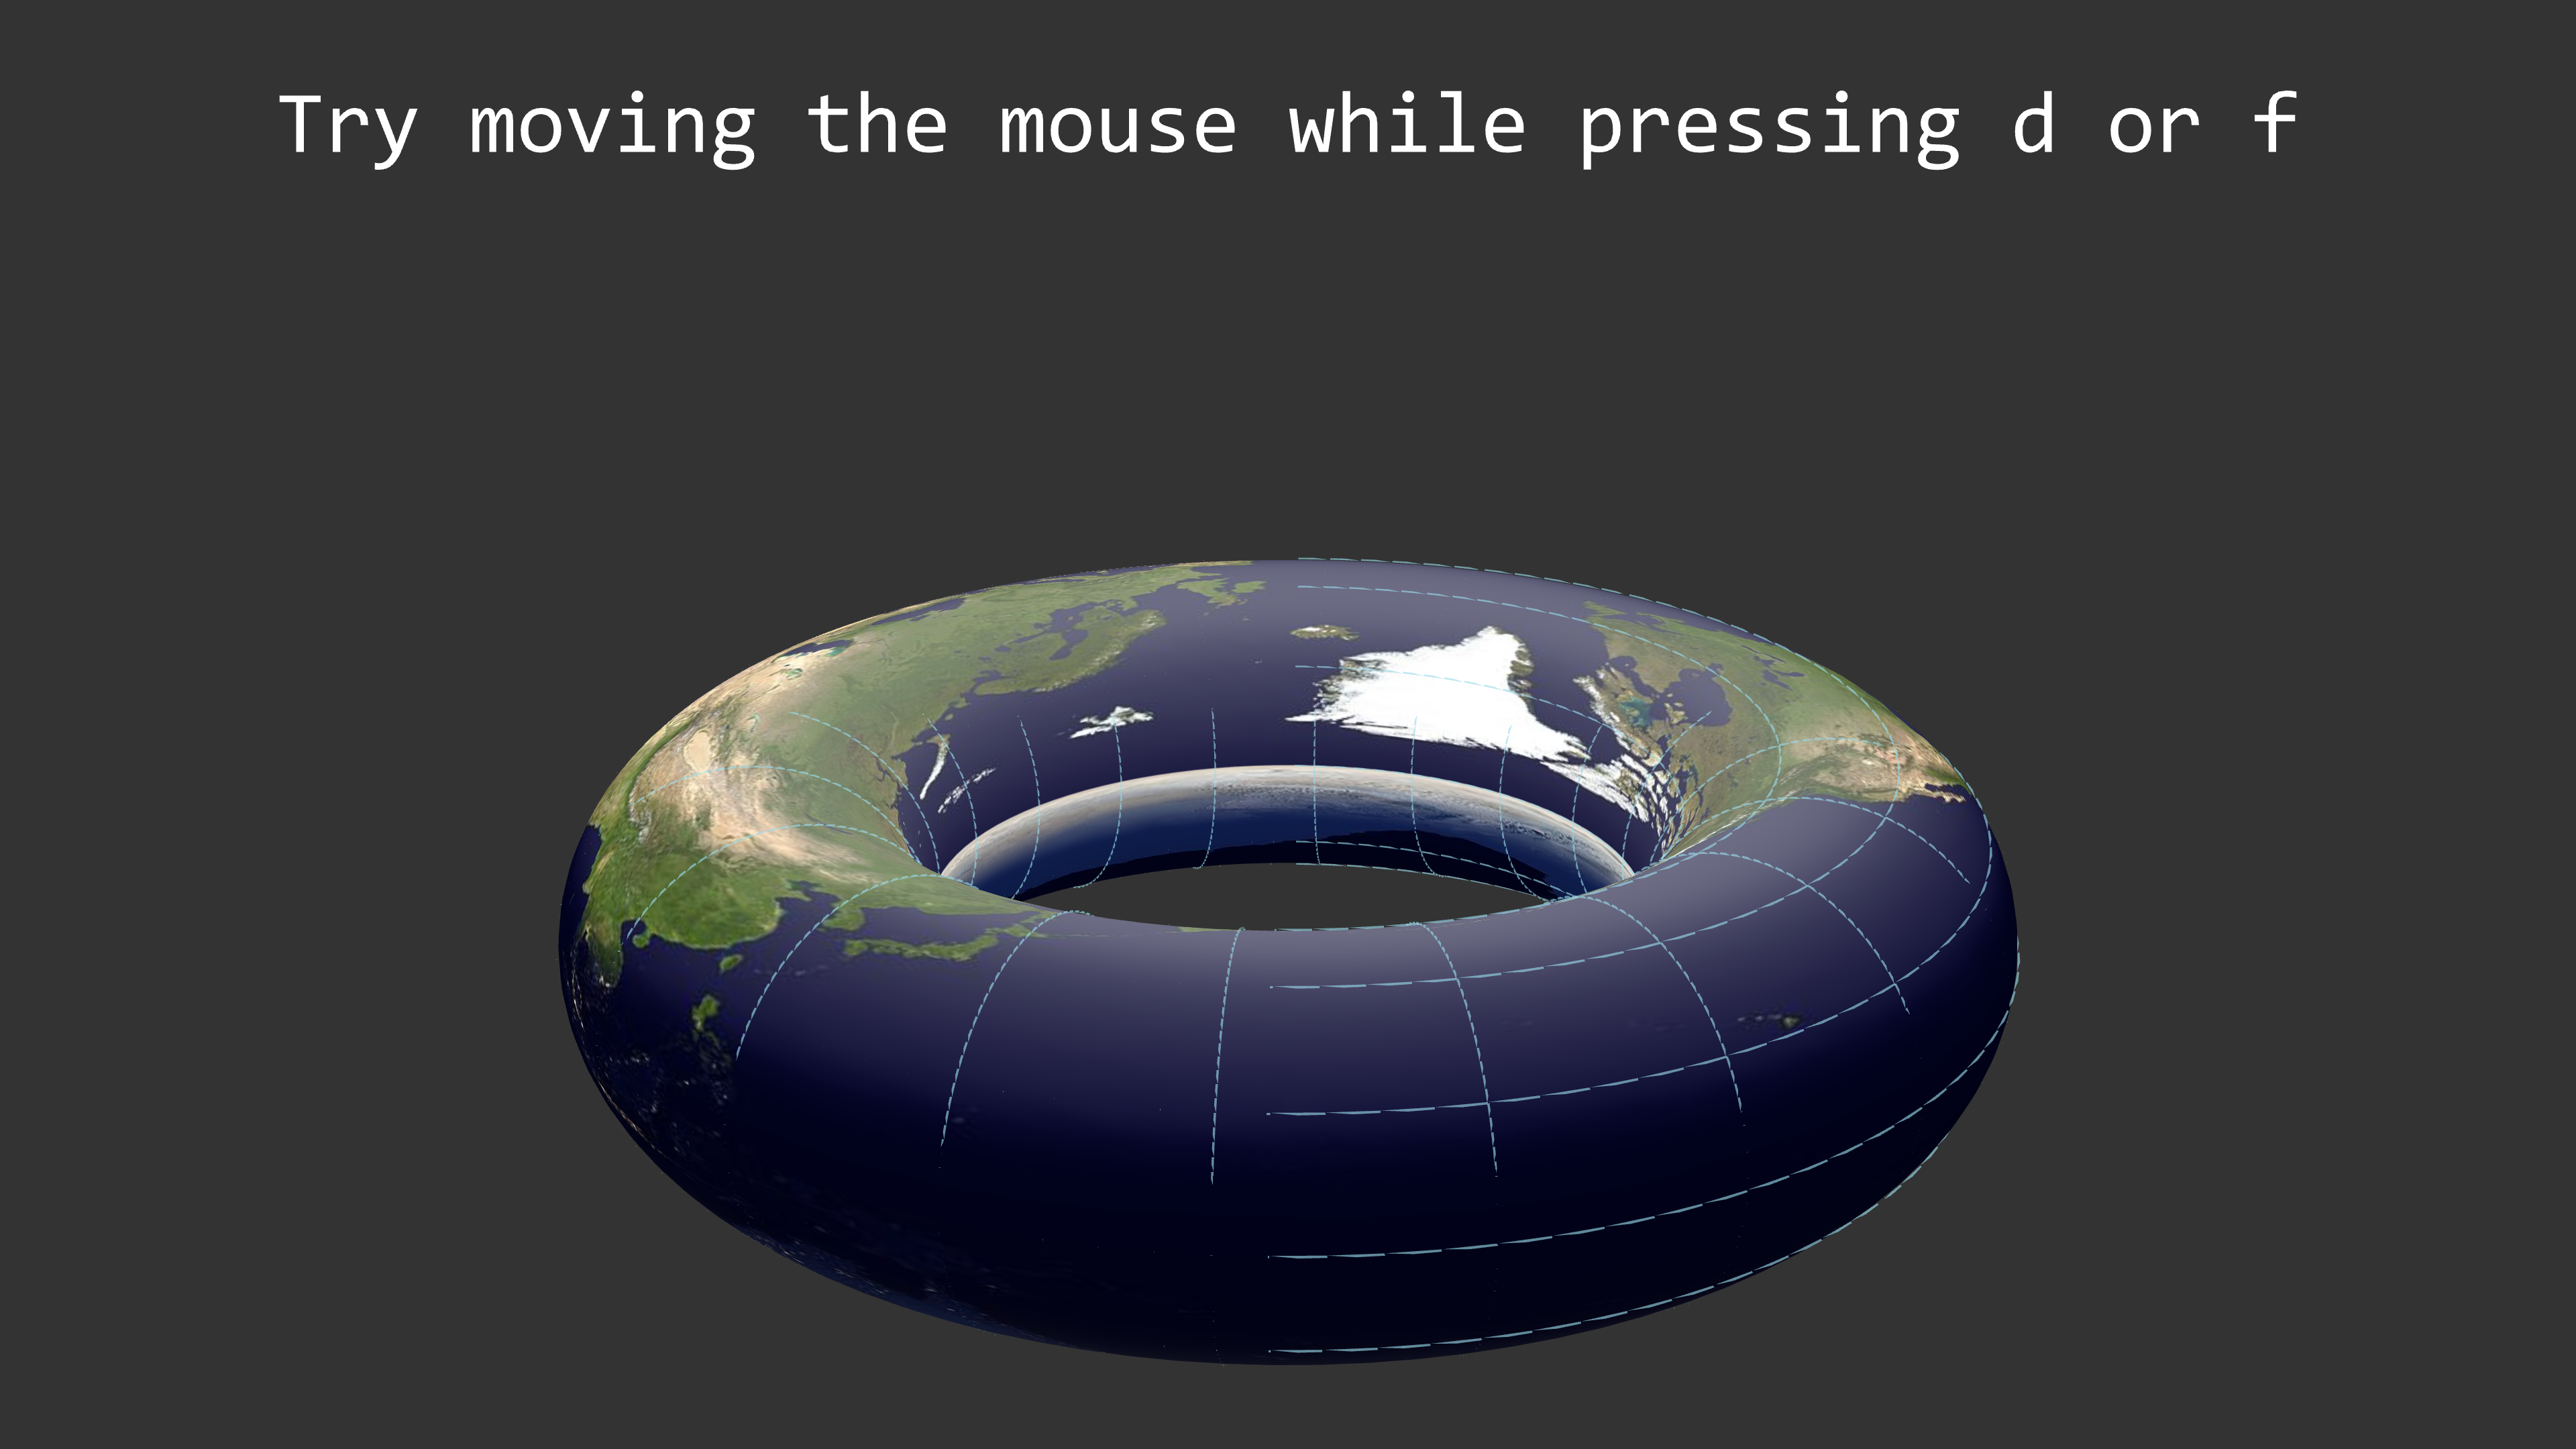
在执行代码时,我们可以通过如下按键查看不同视角的代码视频
滚动鼠标中键可上下移动屏幕。
在滚动鼠标中键的同时按住Z键,可缩放屏幕。
按住s键并移动鼠标,可平移屏幕。
按住d键并移动鼠标,可改变三维视角。
最后,可以通过按 q键,关闭窗口并退出程序。
SurfaceExample.png
manim操作
manim 的特殊CLI 标签
GraphExample.png
manim
通过简单的代码指令manimgl example_scenes.py GraphExample,便可以运行example_scenes.py 代码下的GraphExample场景,此时我们只能通过程序打开的窗口查看实际运行的效果,但是我们若想另存为视频或者图片,该如何操作那?
manim为我们提供了很多有用的flag标签,我们可以在执行以上代码指令后面添加我们 需要的CLI标签,以便能够达到我们想要的效果
1
2
3
4
5
6
7
8
9
10
11
12
13
14
15
16
17
18
19
20
21
22
23
24
25
flag 缩写 功能 --help -h 显示帮助信息并退出 --write_file -w 将场景渲染为电影文件 --skip_animations -s 跳到最后一帧 --low_quality -l 以低质量渲染(为了更快的渲染) --medium_quality -m 以中等质量渲染 --hd 以 1080p 质量渲染 --uhd 以 4k 质量渲染 --full_scree -f 全屏显示窗口 --save_pngs -g 将每一帧保存为 png --save_as_gif -i 将视频保存为 gif --transparent -t 渲染为带有 Alpha 通道的电影文件 --quiet -q 消去视频声音 --write_all -a 从文件中写入所有场景 --open -o 完成后自动打开保存的文件 --finder 在finder中显示输出文件 --config 自动配置指南 --file_name FILE_NAME 电影或图像文件的名称 --start_at_animation_number 不是从第一个动画开始渲染,而是从另一个动画开始渲染 START_AT_ANIMATION_NUMBER -n 由其索引指定。如果您传入两个逗号分隔值,例如“3,6”,它将在第二个值处结束渲染。 --resolution RESOLUTION -r 分辨率,以“WxH”传递,例如“1920x1080” --frame_rate FRAME_RATE 帧率,整数形式 --color COLOR -c 背景颜色 --leave_progress_bars 在终端中显示进度条 --video_dir VIDEO_DIR 写视频的目录
flag
缩写
功能
–help
-h
显示帮助信息并退出
–write
-w
将场景渲染为电影文件
–skip_animations
-s
调到最后一帧
–low_quality
-l
以低质量渲染
–medium_quality
-m
以中等质量渲染
–hd
以1080p质量渲染
–uhd
4k质量渲染
–full_screen
-f
全屏显示窗口
–save_pngs
-g
将每一帧保存为png
–save_as_gif
-i
将视频保存为gif
–transparent
-t
渲染为带有Alpha通道的电影文件
–quiet
-q
消去视频声音
–write_all
-a
从文件中写入所有场景
–open
-o
完成后自动打开保存的文件
–finder
在finder中显示输出文件
–config
自动配置指南
–file_name FILE_NAME
电影或图像文件的名称
–start_at_animation_number
不是从第一个动画开始渲染,而是从另一个动画开始渲染
–resolution RESOLUTION
-r
分辨率,以“W×H”格式,如,1920×1080
–color COLOR
背景颜色
–leave_progress_bars
在终端中显示进度条
–video_dir VIDEO_DIR
写视频的目录
flag标签
manim 的custom_config配置文件
当我们安装完成manim后,manim引擎会自动建立一个默认的配置文件default_config.yml,此文件配置了一些我们常用的配置,当然若自己想设计一个属于自己的配置文件,可以在脚本同目录下建立一个custom_config.yml配置文件,当代码运行时,会首先选择custom_config.yml配置进行系统的配置运行,否则使用默认配置文件。
1
2
3
4
5
6
7
8
9
10
manim/ ├── manimlib/ │ ├── animation/ │ ├── ... │ ├── default_config.yml │ └── window.py ├── project/ │ ├── code.py │ └── custom_config.yml └── custom_config.yml
配置文件中定义了不同的使用功能,主要代码如下:
1
2
3
4
5
6
7
8
9
10
11
12
13
14
15
16
17
18
19
20
21
22
23
24
25
26
27
28
29
30
31
32
33
directories: mirror_module_path: False output: "./video" raster_images: "" vector_images: "" sounds: "" temporary_storage: "" tex: executable: "latex" template_file: "tex_template.tex" intermediate_filetype: "dvi" text_to_replace: "[tex_expression]" universal_import_line: "from manimlib import *" style: font: "Consolas" background_color: "#333333" window_position: UR window_monitor: 0 break_into_partial_movies: False camera_qualities: low: resolution: "854x480" frame_rate: 30 medium: resolution: "1280x720" frame_rate: 60 high: resolution: "1920x1080" frame_rate: 60 ultra_high: resolution: "3840x2160" frame_rate: 80 default_quality: "low"
manim
mirror_module_path(True或False) 是否在output路径下创建一个以运行文件名称命名的文件夹,并将输出(images/ 或videos/)保存在其中。
output输出文件路径,视频将保存在其videos/下的文件夹中,图片将保存在其images/下的文件夹中。例如,如果你设置output为”/…/manim/output”和 mirror_module_path为False,那么你Scene1在代码文件中导出并保存了最后一帧,那么最终的目录结构将是这样的:
1
2
3
4
5
6
7
8
9
10
11
12
13
manim/ ├── manimlib/ │ ├── animation/ │ ├── ... │ ├── default_config.yml │ └── window.py ├── output/ │ ├── images │ │ └── Scene1.png │ └── videos │ └── Scene1.mp4 ├── code.py └── custom_config.yml
但是如果你设置mirror_module_path为True,目录结构将是:
1
2
3
4
5
6
7
8
9
10
11
12
13
14
manim/ ├── manimlib/ │ ├── animation/ │ ├── ... │ ├── default_config.yml │ └── window.py ├── output/ │ └── code/ │ ├── images │ │ └── Scene1.png │ └── videos │ └── Scene1.mp4 ├── code.py └── custom_config.yml
raster_images用于存储代码中使用的光栅图像的目录(包括 .jpg、.png和.gif),将由ImageMobject读取.
vector_images用于存储代码中使用的矢量图的目录(包括 .svg和.xdv),将由SVGMobject读取.
sounds用于存储要使用的声音文件的目录Scene.add_sound()(包括.wav和.mp3)。
temporary_storage存放临时生成的缓存文件的目录,包括 Tex缓存、Text缓存和对象点的存储。
manim实例
tex
executable用于编译 LaTeX 的可执行程序(latex)xelatex -no-pdf
template_file使用的 LaTeX 模板,在 manimlib/tex_templates
intermediate_filetype编译后生成的中间向量文件的类型
text_to_replace模板中要替换的文本
universal_import_line
导入直接进入交互模式时需要执行的行。
style
font文本的默认字体
background_color默认背景色
window_position
播放窗口在显示器上的相对位置(两个字符,第一个字符表示上(U)/中(O)/下(D),第二个字符表示左(L)/中(O)/右(R) ))。
break_into_partial_movies
如果设置为True,那么很多小文件将对应于每个写入Scene.play和Scene.wait调用,然后这些文件将被合并,以形成完整的场景。
camera_qualities:输出视频的质量
low低质量(默认为 480p,15帧)
medium中等质量(默认为 720p,30帧)
high高质量(默认为 1080p,30帧)
ultra_high超高画质(默认为 4K ,60帧)
default_quality默认质量(以上四种之一)
当然,我们在运行manim的时候主要是一个预览的功能,这里default_quality建议选择low,这样会提高代码运行效率,最后我们输出视频时可以加flag标签来控制视频的输入质量,例如
1
2
manimgl example_scenes.py GraphExample -w --uhd 便是保存4k高清画质的视频文件
本期我们分享了manim的基础操作与配置,后期我们将分享manim动画的基础知识,打造属于自己的manim动画效果
manim.jpg
官方社区 https://docs.manim.community/